

UI Ice Arena
Champaign, IL
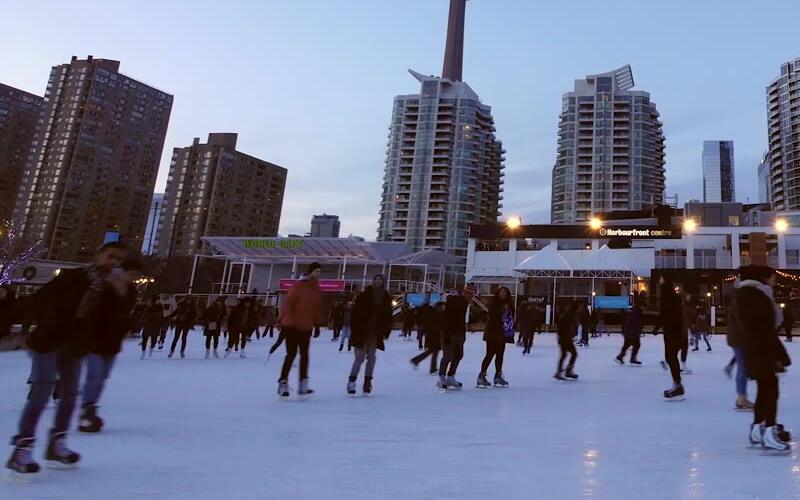
Your first time on the ice comes down to three things: bend your knees, keep your weight over the middle of your feet, and march before you try to glide. Get those right and the rest builds naturally.
Below is the exact progression we recommend, from stepping onto the ice to skating your first laps without the wall. It works for kids, teens, and adults alike.
A good first session starts before you leave the bench. Two things matter most: how your skates fit and how you are dressed.
If you are bringing little ones, our guide to ice skating with kids covers helmets, skate aids, and keeping the outing fun.
Hold the wall or door frame with one hand. Step on with one foot, then the other, keeping your knees soft. Do not step on with locked, straight legs.
Once both feet are on the ice, stand still for a moment. Let your body get used to the slippery surface before you try to move. Feeling a little unsteady is completely normal.
Almost every balance problem on the ice comes back to stance. Here is the position to aim for:
The bent knees are the secret. Straight legs put your weight high and make it easy for your feet to slide out from under you. Bent knees lower your center of gravity and let you absorb bumps.
A quick self-check: if you feel like you are about to fall backward, you are probably leaning back on your heels. Bend your knees a little more and bring your shoulders forward over your toes.
It sounds backward, but practicing a fall on purpose makes you far less afraid of falling by accident. Do this near the wall early in your session.
Get up promptly when you fall during a busy session. Sitting on the ice puts your hands in the path of other skaters. If you need a moment, get to the wall first.
Marching is how you learn to move without fear. In your stance, lift one foot just an inch or two off the ice and set it back down. Then do the other foot.
Start in place, holding the wall if you need to. Once that feels steady, turn your toes slightly outward and march forward with small steps. You will notice you start moving a bit with each step.
March along the wall for a lap or two. When you can do it with only a light touch on the wall, try marching a few steps away from it.
Gliding is simply marching, then pausing to let the ice carry you. March four to six steps, then bring your feet together under you, hip-width apart, and hold your stance while you coast.
Your first glides might last only a second or two. That is great progress. Each time, try to hold the glide a little longer before you start marching again.
Once gliding on two feet feels comfortable, start pushing instead of stepping. Here is how a basic forward stride works:
A common mistake is pushing straight back with the toe. That just digs the toe into the ice. Push to the side with the whole blade instead.
The wall is a great tool for your first few minutes, but leaning on it too long slows down your progress. Use it as a safety net, not a crutch.
A good plan is to skate a lap holding the wall, then a lap with fingertips only, then a lap a few feet away from it. The wall will still be right there if you need it.
You should know at least one way to slow down before you build up much speed. The beginner method is the snowplow: bend your knees, push your heels out, and point your toes slightly inward so the blades scrape the ice.
It takes practice, so start at a very slow speed. Our full guide on how to stop on ice skates covers the one-foot and two-foot snowplow, the T-stop, and drills to practice them.
Nearly every new skater makes some of these. Knowing them ahead of time helps you fix them fast.
| Mistake | What happens | The fix |
|---|---|---|
| Straight, locked knees | Feet slide out, falls backward | Bend your knees like you are sitting in a tall chair |
| Looking down at your feet | Head pulls body forward and off balance | Pick a spot ahead and keep your eyes on it |
| Leaning back | Weight on heels, feet shoot forward | Bring shoulders slightly over your toes |
| Big, lunging steps | Loss of balance between steps | Take small, quick marching steps |
| Pushing off the toe pick | Toe catches, sudden stumble | Push to the side using the inside edge of the blade |
| Arms flailing or pinned to sides | Less control over balance | Hold arms out front, relaxed, at waist height |
Public sessions are a shared space, and a few habits keep everyone safe and happy. If you are unsure how sessions run, read public skating sessions explained.
Do not worry about looking graceful on day one. Everyone who skates well today once marched along the wall with bent knees, just like you.
Ready to put this into practice? Browse ice rinks by state or search the directory.
Most beginners can march and take short glides within their first session or two. Skating comfortably around the rink without the wall usually takes a few sessions of regular practice, and it varies a lot from person to person.
It is very learnable at any age. Adults often feel more nervous about falling than kids do, but with a good knee bend, slow progress, and a few practice sessions, most adults pick up the basics without trouble.
Many rinks offer skate aids, and they can help nervous beginners and young kids get used to the feel of the ice. Try to lean on it less as you go so you build your own balance instead of depending on it.
Weak or tired ankles are common at first, but floppy ankles usually point to skates that are too big or laced too loosely. Snug, properly laced skates that support the ankle make a big difference.
Off the ice, you can practice the athletic stance, squats, and balancing on one foot to build the muscles skating uses. On the ice, short, frequent sessions tend to work better than one long, exhausting one.
Featured
Picked from the highest-rated rinks we list nationwide.
Champaign, IL
Springfield, OH
Skokie, IL
St Paul, MN


